 Photo by freepik.com
Photo by freepik.com
Photo by freepik.com
December 29, 2019 · Power Automate · 1 min read · apurvghai ·
This article is targeted to users who have hands on experience with power automate. If you have questions about creating connectors, then I suggest you to read Microsoft’s official documentation to familiarize yourself.
Activate API connection inside Zendesk
Navigate to this URL https://YOURURL.zendesk.com/agent/admin/api/settings. You can also read the official article to know more about enabling tokens.
Setup Postman
I use postman whenever I create custom connectors. This helps with testing the approach and then simplifies the process. Once you’ve created a collection then you can easily use that to upload it. Let’s get on with the steps:
youremail@yourdomian.com/token) and password (API Token). If you plan to send a base64 encoded token then make sure to send encoded token in this format youremail@yourdomian.com/token:<< actualtoken >>.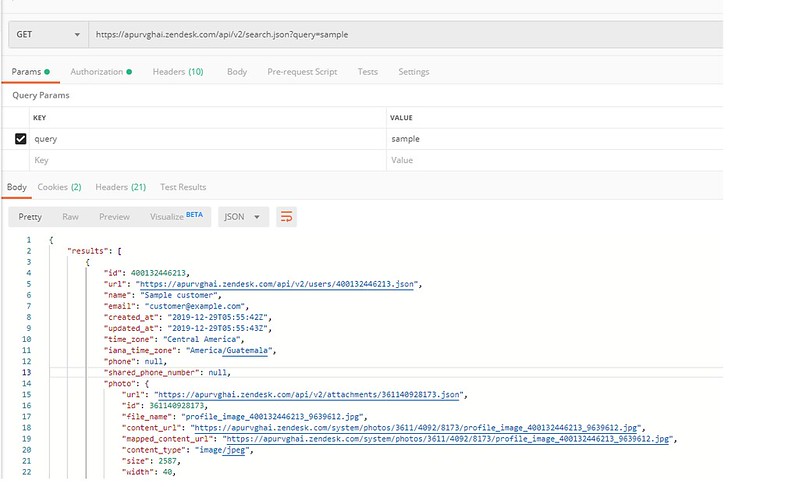
Create a custom connection inside Flow using Postman collection
Follow this link to understand how to create flow connector using Postman. Once you’ve imported the collection. You will see a similar screen like shown below:

Testing your API

I hope you enjoyed reading this. Please leave your comments below.
Happy automating! :)
Connector Series - Power Automate Zendesk Custom Connector
Dec 28, 19 by apurvghai